
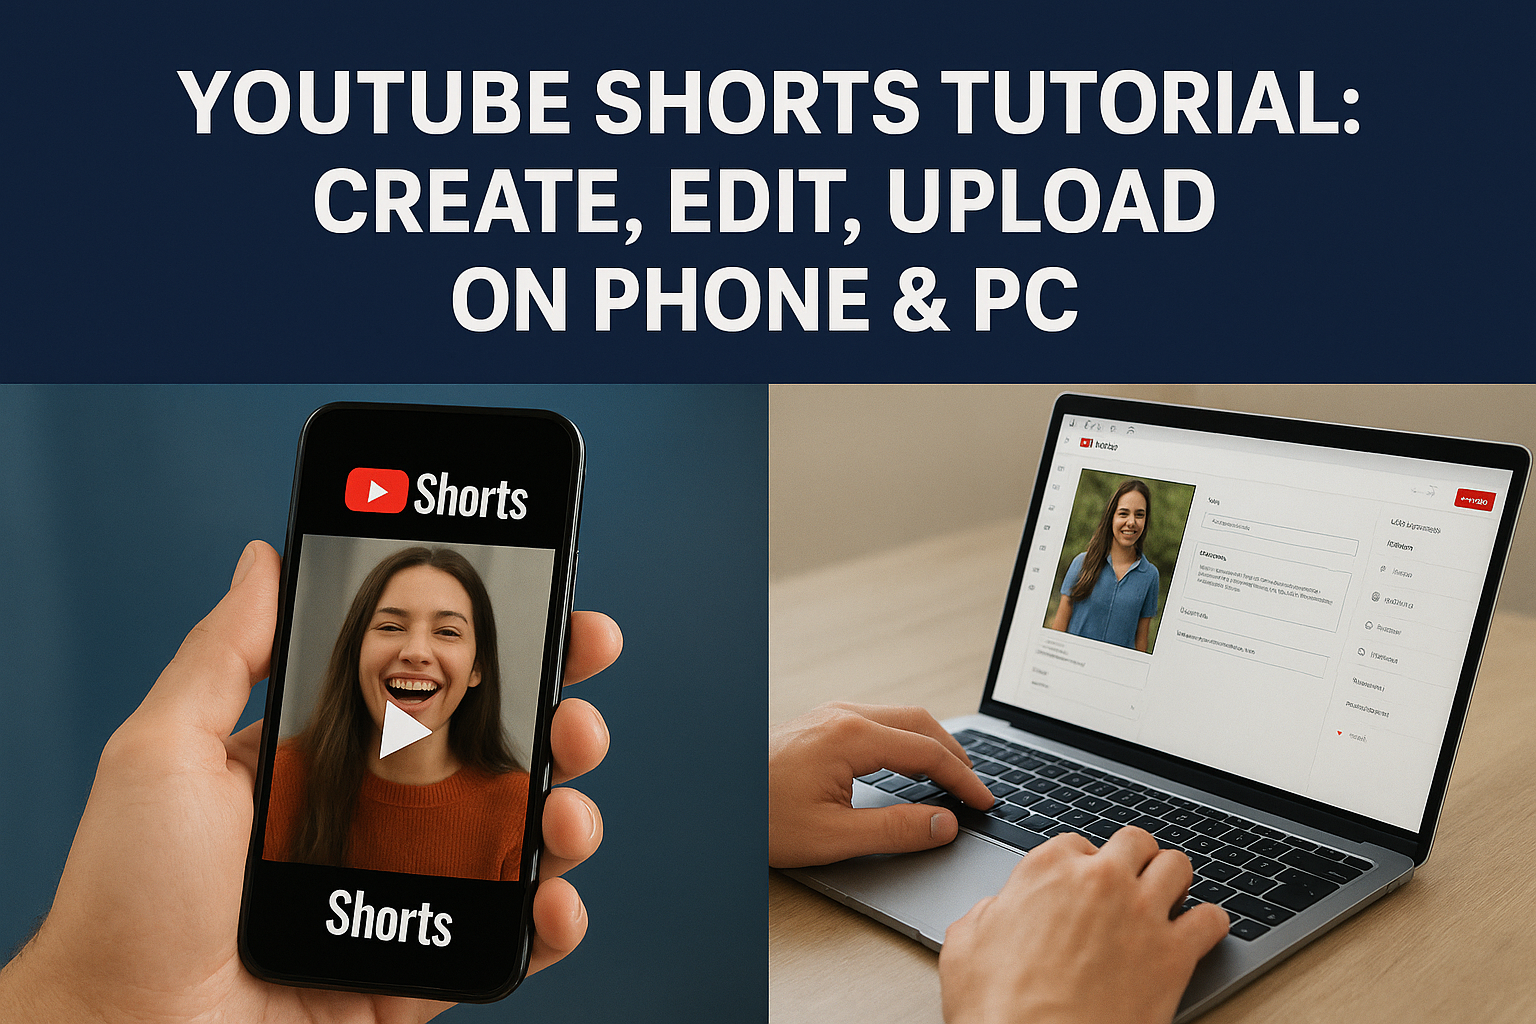

YouTube Shorts Tutorial: Create, Edit, Upload On Phone & PC
You've watched hundreds of YouTube Shorts scroll by. Maybe thousands. Now you want to make your own, but the process feels unclear. Do you record in the app? Can you upload from your computer? What about editing? The platform offers multiple ways to create Shorts, and that flexibility can turn into confusion fast.
Good news: Making YouTube Shorts is simpler than you think. Whether you prefer creating on your phone or uploading from your desktop, both paths work. You just need to understand which tools are available where, and how to use them effectively. The actual creation process takes minutes once you know the steps.
This tutorial walks you through everything. You'll learn how to plan your content, record and edit Shorts directly in the YouTube app, and upload pre-made videos from your computer. We've also included growth tips that actually work, based on what the platform rewards. By the end, you'll have a complete system for creating Shorts that get views.
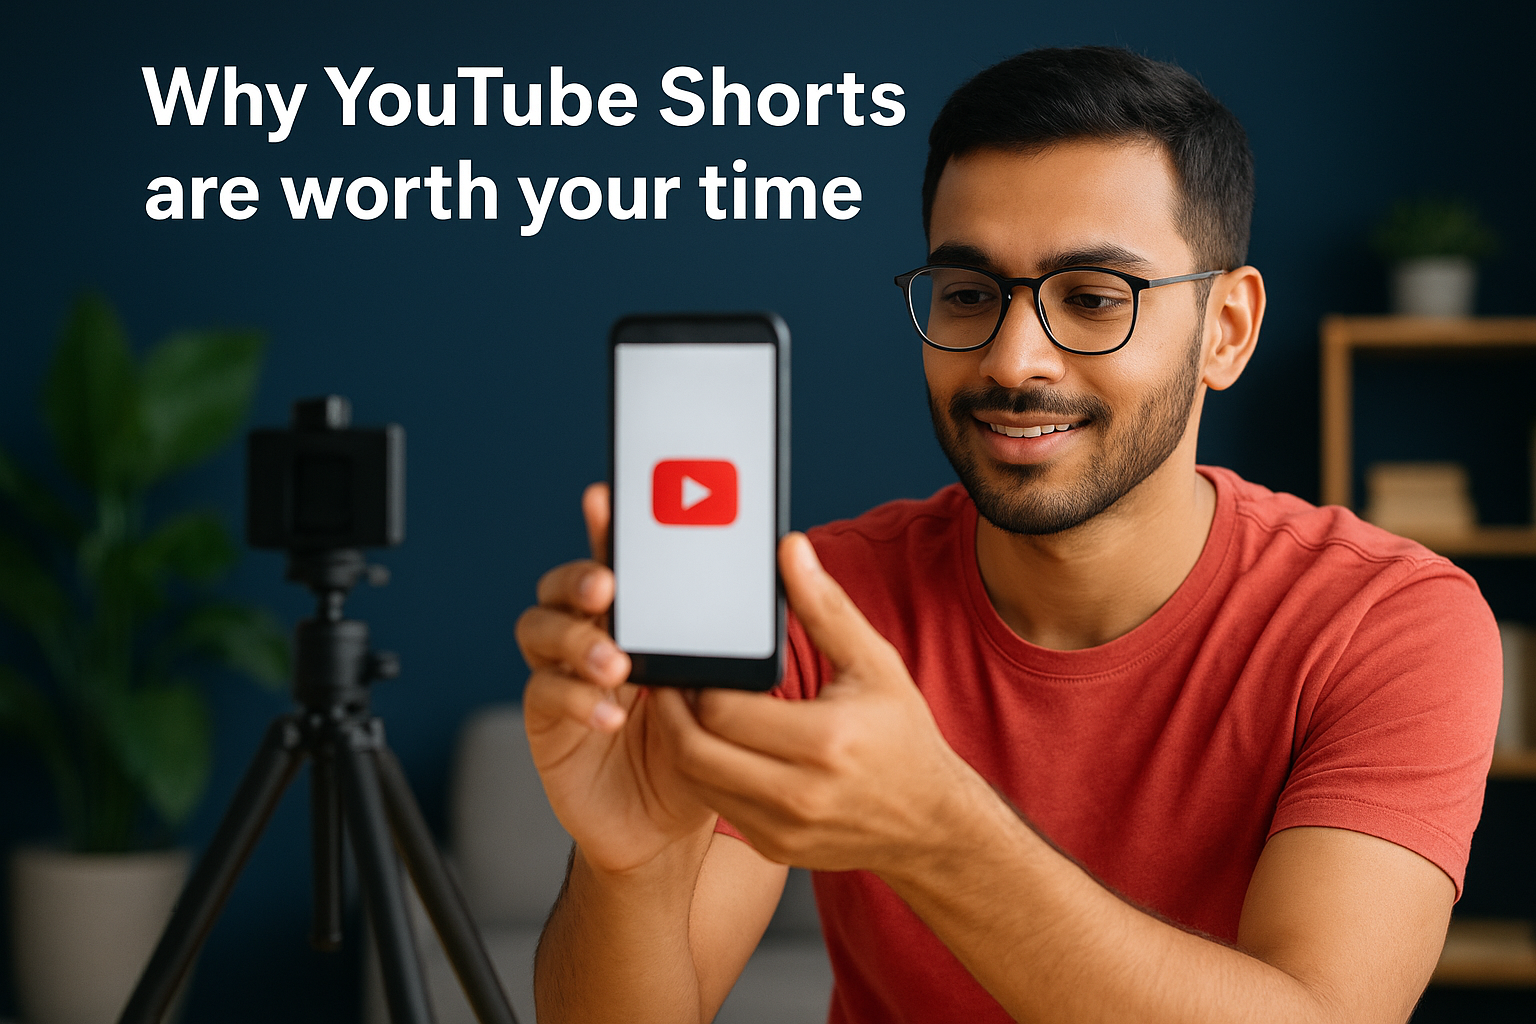
Why YouTube Shorts are worth your time
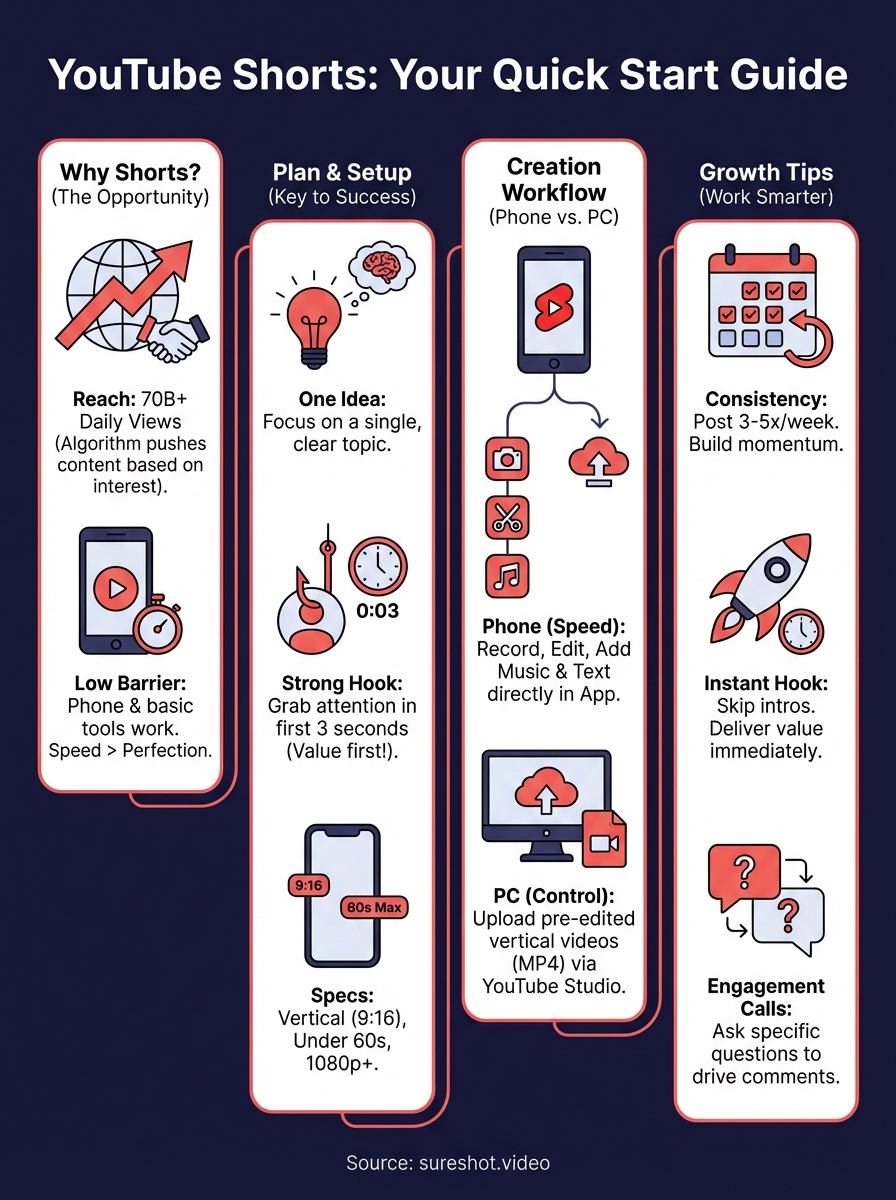
YouTube Shorts reached 70 billion daily views as of late 2023, and those numbers keep climbing. The platform pushes Shorts aggressively across its homepage, dedicated Shorts feed, and search results. This means your content gets distribution that would take years to build through traditional long-form videos alone. You can reach thousands of viewers with your first upload if the content connects.
The reach advantage
Shorts give you access to audiences who never watch long videos. The algorithm surfaces your content to viewers based on interest signals, not just subscriber counts. This levels the playing field dramatically. A creator with 100 subscribers can appear next to channels with millions if the content resonates. Your existing long-form audience also discovers your Shorts automatically, creating multiple touchpoints with the same viewers throughout their day.
Lower barriers to entry
Creating Shorts requires no expensive equipment or complex editing software. Your smartphone camera works perfectly. The built-in YouTube Shorts editor handles basic cuts, text overlays, and music additions without forcing you to learn third-party tools. You can produce a complete Short in under 10 minutes once you understand the workflow.
The time investment drops significantly compared to traditional YouTube content, while the potential reach increases.
Any youtube shorts tutorial will tell you that consistency matters more than perfection. The platform rewards regular uploads because Shorts feed on viewer momentum. Post three times per week and you'll see better results than posting one perfectly polished Short per month. The format favours speed and volume, which works in your favour if you're just starting out.
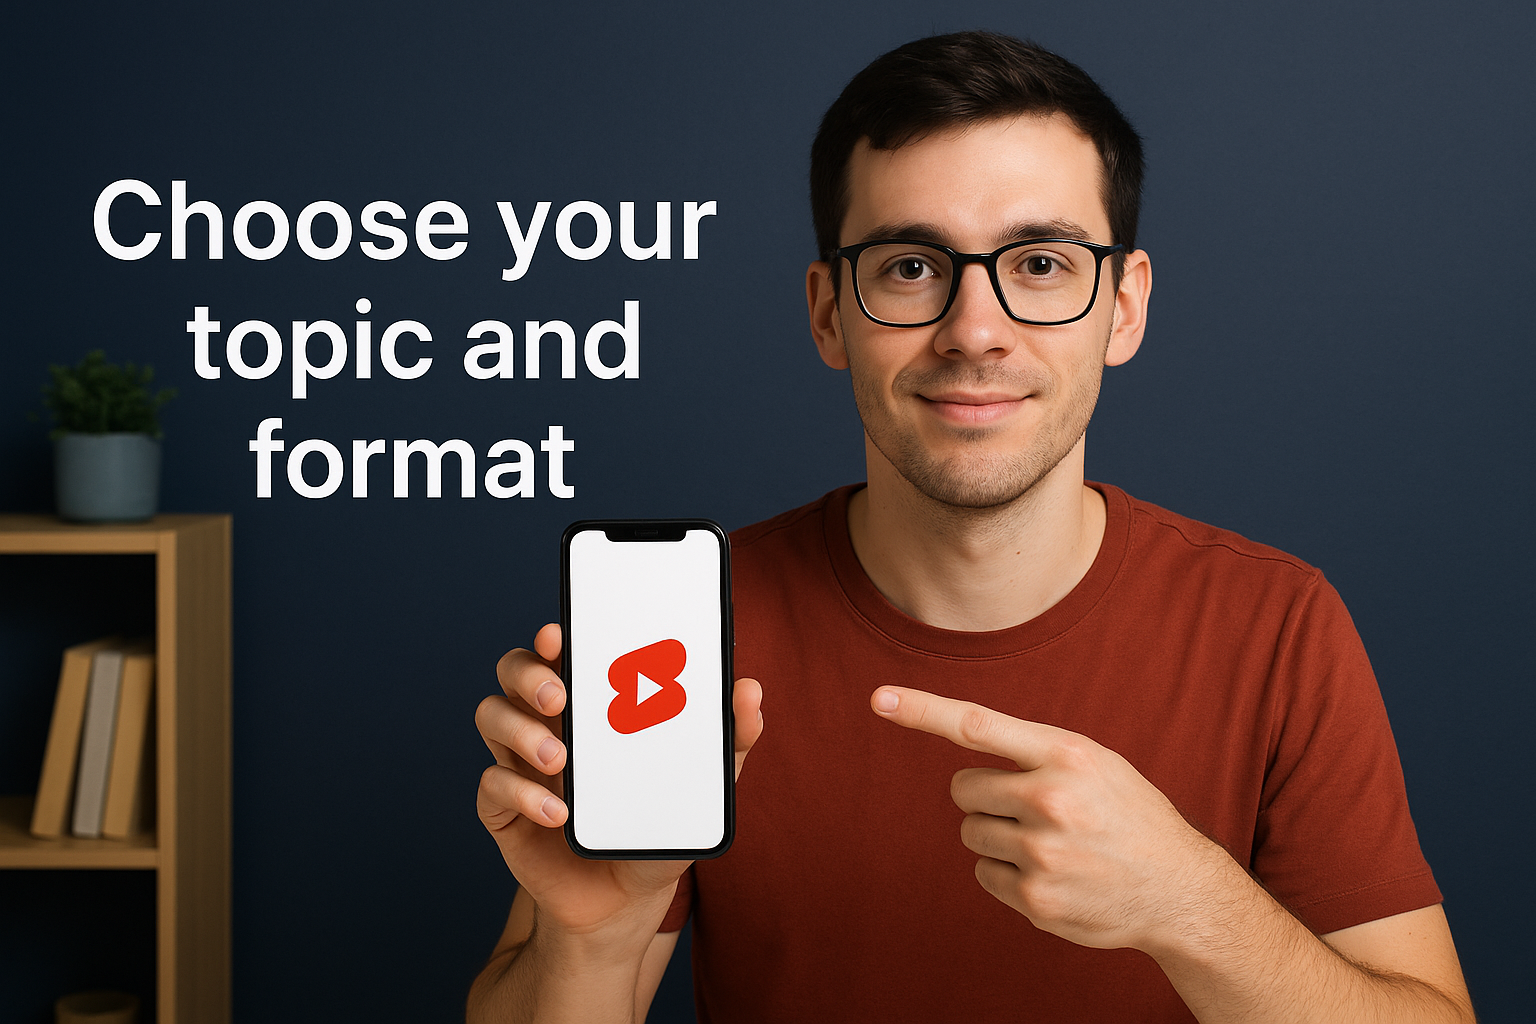
Step 1. Set up and plan your Short
Planning saves time and improves results. Before you open the camera, decide what you'll film and how you'll structure it. Your first three seconds determine whether viewers watch or scroll past. You need a clear topic, a strong hook, and proper technical setup before recording anything. This youtube shorts tutorial starts with planning because filming without direction wastes effort and produces content that underperforms.
Choose your topic and format
Pick one specific idea per Short. Trying to cover multiple topics in 60 seconds confuses viewers and dilutes your message. Your best topics come from questions your audience already asks, trends in your niche, or quick wins you can demonstrate visually. Check what's performing well in your niche by browsing the Shorts feed and noting which formats get the most engagement.
Common formats that work include:
- Quick tutorials showing a single technique or tip
- Before/after transformations with clear visual payoff
- Behind-the-scenes glimpses that reveal process
- Myth-busting statements that challenge assumptions
- Quick lists presenting three to five related items
Match your format to your strengths. If you explain concepts well, tutorial formats work. If you capture interesting moments, behind-the-scenes content performs better. The format matters less than consistent execution within that format.
Define your opening hook
Your first sentence and first visual must grab attention immediately. State the payoff upfront so viewers know what they'll gain by watching. Generic openings like "Hey everyone" or "In this video" lose viewers instantly. Instead, lead with the transformation, the surprising fact, or the specific result.
Strong hooks promise value in the first two seconds and deliver that value within the Short's runtime.
Effective hook structures include: "Here's how I [achieved specific result] in [timeframe]," or "Stop doing [common mistake], do this instead," or "The [tool/method] nobody talks about that actually works." Write your hook before filming so you deliver it confidently without hesitation.
Set technical parameters
YouTube Shorts require vertical 9:16 aspect ratio and a maximum 60-second runtime (or 3 minutes if you need it). Film in 1080 x 1920 resolution minimum to maintain quality. Your phone's camera app can handle this natively. Switch to vertical mode and check that you're shooting in at least 1080p quality through your camera settings.
Good lighting makes more difference than expensive equipment. Position yourself facing a window during daytime, or use a basic ring light if filming indoors at night. Clear audio matters equally. Record in quiet spaces and position your phone within arm's reach to capture clean sound. These technical basics separate watchable Shorts from ones viewers skip past.
Step 2. Create and edit Shorts on your phone
The YouTube mobile app gives you everything needed to record, edit, and upload Shorts without leaving the platform. This youtube shorts tutorial focuses on the phone workflow because it's faster and more accessible than desktop creation. You'll use YouTube's native camera and editing tools, which streamline the entire process from capture to publication. Download the YouTube app if you haven't already, log into your account, and prepare to create your first Short in minutes.
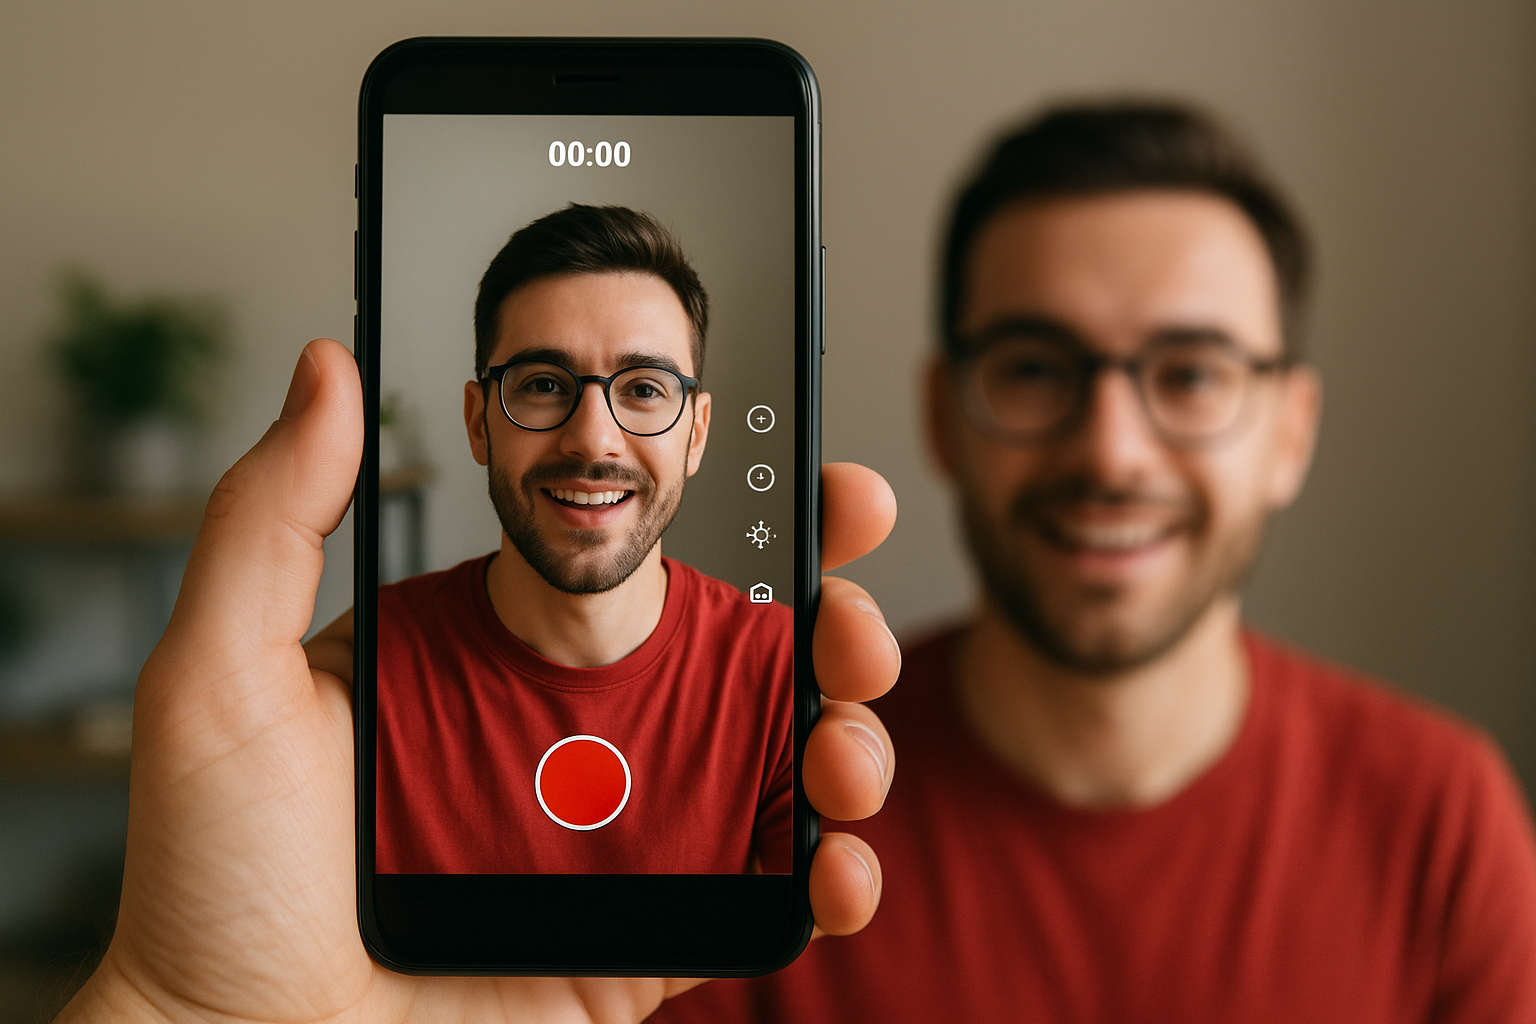
Access the Shorts camera
Open the YouTube app and tap the "+" button at the bottom centre of your screen. This opens your creation menu. Select "Create a Short" from the options that appear. You'll land directly in the Shorts camera interface, which looks similar to other vertical video apps but includes YouTube-specific features.
The interface shows several icons along the right side of your screen. These control recording speed, timer settings, filters, and effects. The large red circle at the bottom centre is your record button. Before filming, explore the left sidebar where you'll find the green screen tool, alignment guide, and flash toggle. Familiarize yourself with icon locations now so you can work quickly during recording.
Record your video clips
Tap and hold the red record button to capture video. Release it to pause recording. This segment-based recording system lets you create your Short in multiple takes rather than one continuous shot. You can record up to 60 seconds total (or 3 minutes if needed), split across as many segments as you want. Each segment appears as a separate section on your timeline at the bottom.
Position yourself properly before recording. Your face should fill the upper two-thirds of the frame if you're doing a talking head shot. Keep important visual elements centred since viewers watch on various screen sizes. Natural lighting from windows beats artificial light when available. Record your hook first, then capture your main content, then film your call to action if you're including one.
The speed control (left sidebar) adjusts playback tempo. Use 0.3x or 0.5x for slow motion effects and 2x or 3x for time-lapse sequences. The timer (stopwatch icon) sets a countdown before recording starts, which helps if you need to position yourself or prepare props. After recording each segment, you can delete it by tapping the "X" or proceed to capture your next clip.
Edit with built-in tools
Once you finish recording, tap the checkmark to enter the editing interface. Your recorded segments appear on the timeline at the bottom. Tap any segment to see editing options: you can delete unwanted clips, rearrange their order, or trim their length by dragging the edges of each segment. This gives you basic cut control without complex software.
The right toolbar contains your main editing features. Tap "Effects" to add visual filters that change colour grading and mood. Select "Filters" for Instagram-style preset looks. Use "Adjust clips" to modify brightness, contrast, and saturation for each segment individually. These adjustments help maintain visual consistency across different takes shot in varying lighting conditions.
Apply edits conservatively. Viewers prefer natural-looking Shorts over heavily processed content that feels artificial.
Add music and text overlays
Tap "Add sound" to open YouTube's music library. Browse by genre, mood, or search for specific tracks. All music here is licensed for YouTube use, so you won't face copyright issues. Preview tracks by tapping them, then select the blue arrow to add your choice. You can adjust where the music starts by dragging the audio waveform timeline, letting you sync music drops with visual moments.
Text overlays require tapping the "Aa" button on the right toolbar. Type your message, then customise the font, colour, and size using the controls that appear. Position text by dragging it around the screen with your finger. Tap the text element and select the timeline icon to set when it appears and disappears during playback. Layer multiple text elements to create dynamic captions that highlight key points throughout your Short.
The sticker feature adds interactive elements like polls, questions, or location tags. Tap the sticker icon and choose from available options. These elements boost engagement by giving viewers actions to take beyond just watching. Once you complete all edits, tap "Next" to move to the publishing screen.
Step 3. Upload and manage Shorts on desktop
You can't record or edit Shorts directly on YouTube's desktop site, but you can upload pre-edited vertical videos and manage your published content. This workflow suits creators who prefer professional editing software like Premiere Pro, Final Cut, or DaVinci Resolve. The desktop upload process gives you full control over video quality and metadata optimization before publishing. Use this method when you've created Shorts outside the YouTube app and need to publish them through your computer.
Prepare your video file
Your video must meet specific technical requirements before upload. Export your Short as an MP4 file in 9:16 aspect ratio with 1080 x 1920 resolution minimum. Keep the duration under 60 seconds (or up to 3 minutes if your content needs it). YouTube's system automatically detects vertical videos meeting these criteria as Shorts rather than standard uploads.
Check that your file size stays under 256 GB and your export settings prioritise quality. Use H.264 codec for maximum compatibility across devices. Name your file descriptively before uploading so you can identify it easily if you're batch uploading multiple Shorts. These preparation steps prevent upload errors and ensure proper classification in YouTube's Shorts feed.
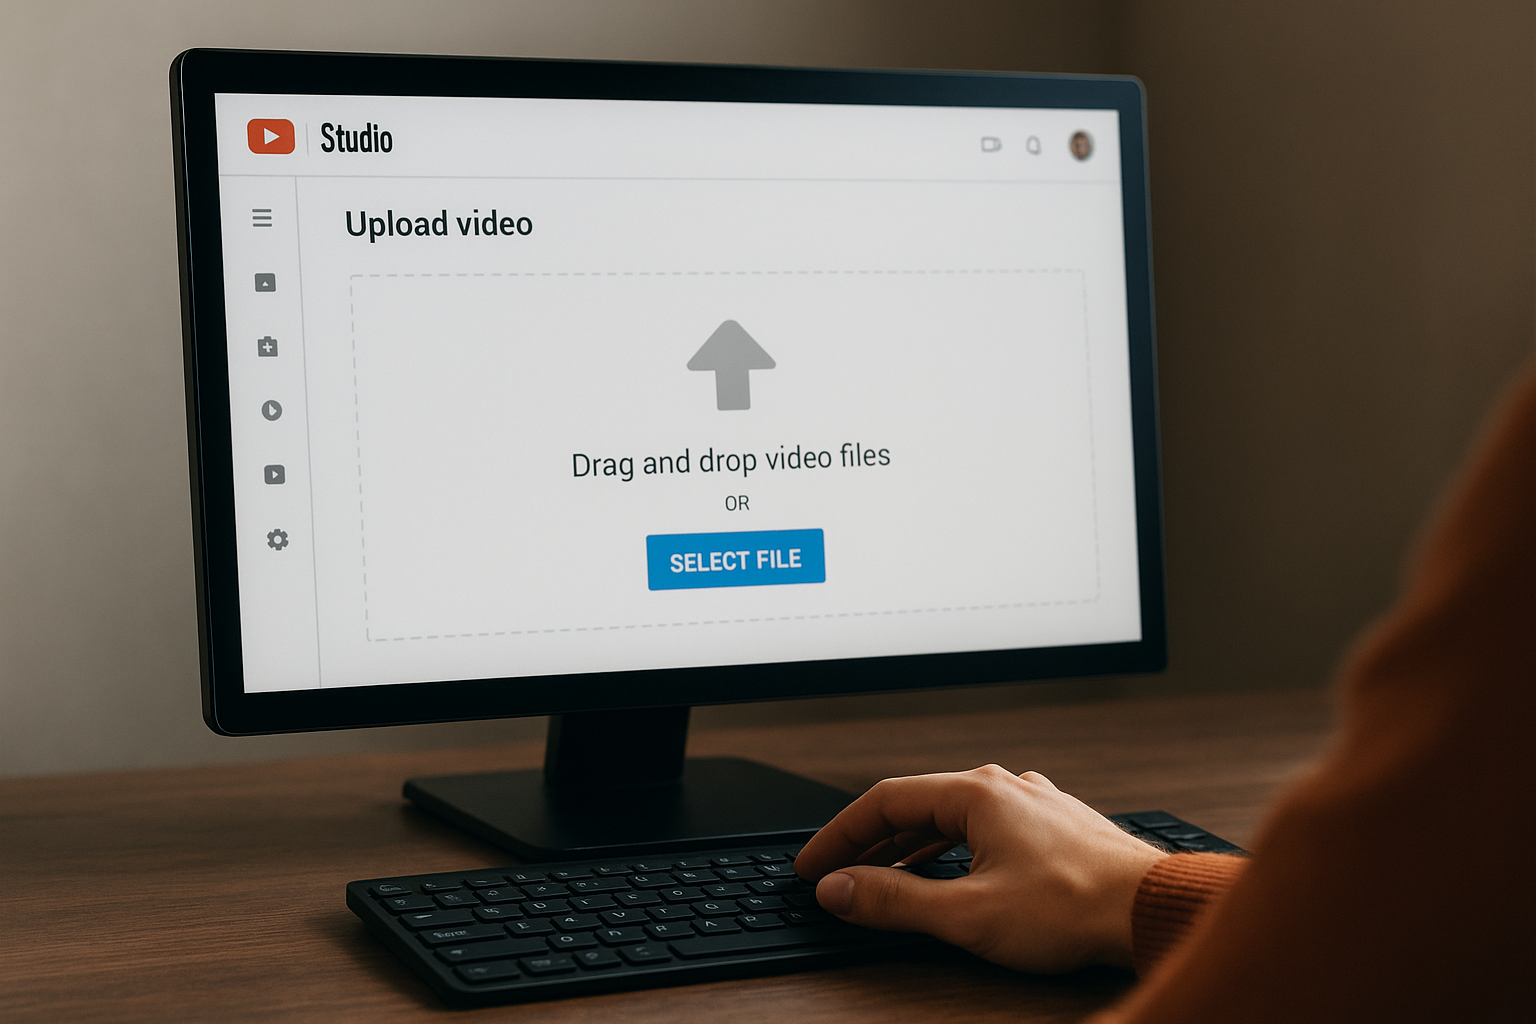
Upload through YouTube Studio
Navigate to youtube.com/upload or click the camera icon in YouTube's top navigation and select "Upload video." Drag your video file into the upload area or click to browse your computer's files. YouTube processes your upload and displays a details page where you'll add metadata.
The upload process follows these steps:
- Select your exported Short video file from your computer
- Add a compelling title that includes relevant keywords
- Write a description that provides context and includes calls to action
- Choose a thumbnail from auto-generated options or upload a custom one
- Select "Not made for kids" or "Made for kids" based on your content
- Set visibility to Public, Unlisted, or Private
- Click "Upload" to publish your Short immediately or schedule it
YouTube typically displays "/shorts/" in your video URL after processing, confirming proper classification. If your video appears in the "Videos" tab instead of "Shorts" tab initially, wait a few minutes for YouTube's system to categorize it correctly.
Optimise your Short's metadata
Your title should state the value proposition clearly in the first 40 characters. Descriptions work best when you add relevant keywords naturally and include timestamps if your Short covers multiple quick tips. Add "#Shorts" in either the title or description to reinforce proper categorization, though YouTube's algorithm usually handles this automatically for vertical videos under 60 seconds.
Metadata optimization directly impacts discoverability, as YouTube's search and recommendation systems rely on titles and descriptions to understand your content's topic and relevance.
Include three to five relevant hashtags beyond #Shorts to increase discovery in related topic searches. Link to related long-form videos in your description when applicable, creating pathways for viewers to consume more of your content.
Smart tips to grow faster with Shorts
Growth on YouTube Shorts requires strategic execution beyond just uploading content. The algorithm rewards specific behaviors that signal viewer satisfaction and engagement. These tips focus on actions you can take immediately to improve performance without waiting months to see results. Apply them consistently and you'll notice momentum building within your first 20 uploads.
Post consistently at peak times
Upload three to five Shorts per week minimum to maintain algorithmic momentum. YouTube's system favours creators who publish regularly because consistent content gives the algorithm more data points to understand your audience and optimise distribution. Batch record your Shorts in single sessions, then schedule uploads throughout the week to maintain steady output without daily filming pressure.
Test different posting times to find when your audience engages most. Start by uploading at 12 PM, 6 PM, and 9 PM in your target timezone, then check YouTube Analytics after two weeks to identify patterns. Your analytics dashboard shows when viewers watch most actively. Double down on those time slots once you spot clear performance differences. Consistency in timing helps train your audience to expect new content at predictable intervals.
Hook viewers in the first three seconds
Your opening frame and first sentence determine 40% to 60% of your total watch time. Skip introductions and greetings entirely. State your value proposition immediately with specific language that tells viewers exactly what they'll gain. Instead of "Today I'm going to show you," say "This editing trick cuts your workflow time in half."
Test different hook formats across multiple Shorts to discover which patterns your audience responds to most strongly, then replicate those structures.
Visual hooks work alongside verbal ones. Start with movement, unexpected visuals, or text overlays that create immediate curiosity. Fast cuts between contrasting images in your first two seconds stop scrolling thumbs better than static shots.
Drive engagement through strategic calls
Ask viewers to comment with specific responses rather than generic engagement requests. Instead of "What do you think?" ask "Which method worked better for you, A or B?" or "Drop your result in the comments." Specific prompts generate three to five times more comments than vague questions because they remove decision paralysis and give viewers clear actions.
Reply to comments within the first hour after publishing. Early engagement signals to YouTube that your content sparks conversation, which boosts distribution. Your replies don't need lengthy responses. Simple acknowledgments like "Great point" or answers to questions maintain the conversation thread that algorithms reward.
Bring it all together
You now have a complete workflow for creating YouTube Shorts on both mobile and desktop. Start with strong planning that defines your hook and topic. Record and edit directly in the YouTube app when you need speed, or upload pre-edited files from your computer when you want more control. Apply the growth tips consistently and you'll see momentum build within your first month of uploads.
The real power comes from volume. Create more Shorts than you think you need, test different formats, and double down on what performs. Your smartphone and the YouTube app give you everything required to start today. Professional equipment and complex software can wait until you've proven your content connects with viewers.
Speaking of capturing authentic video content, if you organise events and want to collect compelling footage from your attendees, book a demo with SureShot to see how user-generated content transforms your promotional strategy. Turn every attendee into a content creator and build your video library effortlessly.